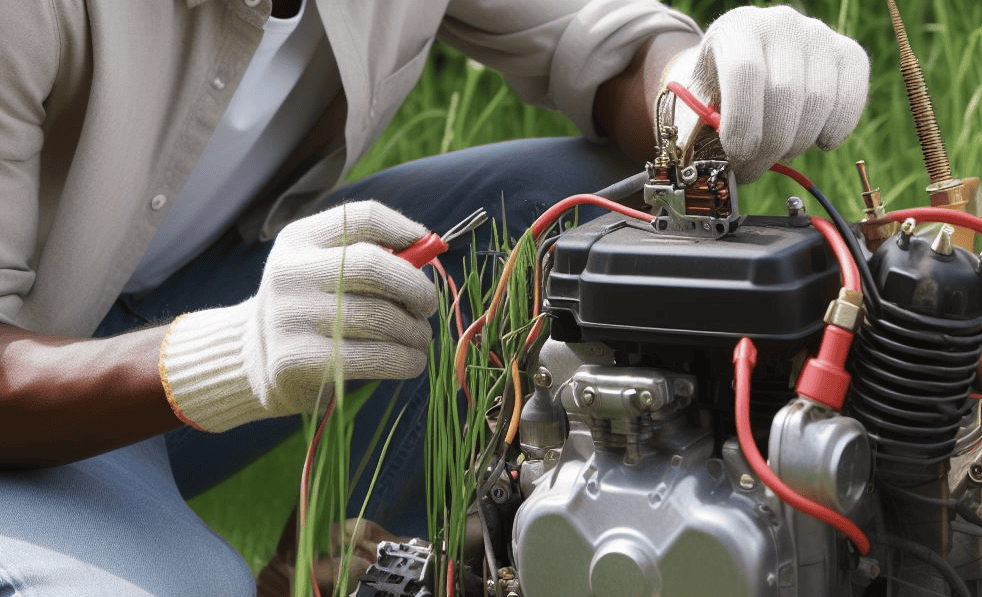
One of the most common frustrations that homeowners face when it comes to their lawn mowers is the issue of non-starting. You may find yourself in a situation where you’re ready to mow the lawn, but the engine simply won’t start. ????
Before you panic and rush to call a professional, it’s important to take a step back and understand how to troubleshoot a lawn mower that won’t start.
- Understanding the Problem: Identifying the Non-Starting Issue
- 1. Checking the Fuel System: Ensuring an Adequate Supply
- 2. Examining the Spark Plug: Assessing Ignition Efficiency
- 3. Assessing the Air Filter: Ensuring Proper Airflow
- 4. Inspecting the Carburetor: Cleaning and Adjusting for Optimal Performance
- 5. Testing the Ignition Coil: Verifying Electrical Functionality
- 6. Evaluating the Battery: Checking Charge and Connections
- 7. Reviewing the Oil Levels: Maintaining Lubrication
- 8. Inspecting the Wiring: Ensuring Proper Connections
- 9. Examining the Starter Motor: Assessing Mechanical Functionality
- 10. Troubleshooting Additional Components: Solving Other Possible Issues
- Verifying Safety Features ⛑️: Checking for Engaged Components
- Preventive Measures: Maintaining Your Lawn Mower for Future Performance
- FAQ
Understanding the Problem: Identifying the Non-Starting Issue
First and foremost, it’s crucial to rule out any simple problems that could be causing the non-starting issue.
Make sure that the fuel tank has an adequate supply of clean gasoline and that the fuel valve is turned on.
Additionally, check the oil level to ensure that it’s at the recommended level, as low oil can also prevent the engine from starting.
By addressing these basic factors, you can eliminate any simple issues and move on to the more complex components that may be causing the problem.
Understanding the intricacies of troubleshooting a non-starting lawn mower will not only save you time and money, but it will also equip you with the knowledge to maintain your machine’s performance in the long run.

1. Checking the Fuel System: Ensuring an Adequate Supply
When it comes to troubleshooting a non-starting lawn mower, one of the first areas to check is the fuel system.
A properly functioning fuel system is vital for ensuring an adequate supply of fuel to the engine. This step is crucial because if there is a problem with the fuel supply, no matter how well the other components are functioning, the mower will not start.
To begin checking the fuel system, start by inspecting the fuel tank for any signs of damage or contamination.
Ensure that the fuel tank is clean and free from debris, as this can affect the flow of fuel to the engine.
Next, check the fuel lines for any blockages or leaks. A blocked or leaking fuel line can hinder the fuel flow, causing the engine to fail to start.
If any issues are found, it is essential to address them promptly to ensure optimal performance.
2. Examining the Spark Plug: Assessing Ignition Efficiency
The spark plug is a vital component in assessing the ignition efficiency of your lawn mower. By conducting a thorough examination of the spark plug, you can gain valuable insight into the condition of your mower’s ignition system.
Start by removing the spark plug from the engine using a spark plug socket wrench.
Look closely at the electrode, the small metal-ceramic piece at the end of the spark plug.
A clean and sharp electrode indicates a healthy spark plug, while a fouled or worn electrode may require cleaning or replacement.
Additionally, check the gap between the electrode tip and the center electrode.
Use a gapping tool to ensure the gap meets the manufacturer’s specifications. A correctly gapped spark plug allows for optimal ignition and combustion, contributing to the overall efficiency of your mower’s engine.
Inspecting the spark plug’s condition can also provide insight into the fuel mixture in your lawn mower’s engine. If the electrode is covered in a black, sooty deposit, it may indicate an overly rich fuel mixture.
On the other hand, a white or light-gray deposit could suggest a lean fuel mixture. Adjusting the fuel-air mixture accordingly can help improve the ignition efficiency and performance of your mower.
Remember to clean the spark plug with a wire brush or replace it if necessary. By paying attention to the condition and gap of the spark plug, you can ensure adequate ignition efficiency, leading to a well-functioning and reliable lawn mower.
3. Assessing the Air Filter: Ensuring Proper Airflow
The air filter is a vital component of any lawn mower, as it ensures proper airflow to the engine. A clogged or dirty air filter can restrict the flow of air into the combustion chamber, causing a decrease in performance and efficiency.
To assess the air filter, start by locating it on your lawn mower. Usually, it is located near the carburetor or the air intake.
Once located, carefully remove the air filter and inspect it for any visible dust, debris, or damage. If the filter appears dirty or clogged, it is crucial to clean or replace it to maintain optimal airflow.
Cleaning the air filter can be a straightforward process. If the filter is made of foam, it can be washed with soap and water, thoroughly rinsed, and allowed to dry completely before reinstallation.
On the other hand, paper or fabric filters should be replaced with new ones. It is recommended to consult your lawn mower’s manual for specific instructions on cleaning or replacing the air filter.
By regularly assessing and maintaining the air filter, you can ensure proper airflow and maximize the performance and longevity of your lawn mower.
4. Inspecting the Carburetor: Cleaning and Adjusting for Optimal Performance

To ensure optimal performance of your lawn mower, it is crucial to inspect and maintain the carburetor regularly.
The carburetor is responsible for mixing fuel and air in the correct ratio for combustion. Over time, dirt and debris can accumulate in the carburetor, leading to clogs and improper fuel flow.
Cleaning the carburetor is essential to remove these obstructions and ensure smooth operation.
Start by disconnecting the spark plug wire to prevent accidental starts. Then, carefully remove the carburetor from the engine and disassemble it.
Clean each component thoroughly with carburetor cleaner, ensuring all passages are clear of debris. Once cleaned, reassemble the carburetor and reinstall it onto the engine.
In addition to cleaning, adjusting the carburetor is also essential for optimal performance.
The proper air and fuel mixture is essential for efficient combustion. Begin by locating the carburetor’s adjustment screws, usually labeled as “high” and “low.”
While the exact adjustments vary depending on the model, the general rule is to turn these screws clockwise until they are lightly seated, then back them out according to the manufacturer’s specifications.
It is crucial to consult the lawn mower’s manual or seek professional advice to ensure proper adjustment. Additionally, be cautious not to overtighten or force the screws, as this can cause damage to the carburetor.
Once the adjustments are complete, reinstall the carburetor and reconnect the spark plug wire.
Regularly inspecting and appropriately maintaining the carburetor will optimize its performance, resulting in smooth running and efficient fuel consumption.
5. Testing the Ignition Coil: Verifying Electrical Functionality
When it comes to troubleshooting non-starting issues in your lawn mower, one crucial component to examine is the ignition coil.
The ignition coil plays a pivotal role in the electrical system of your mower, as it is responsible for generating the high voltage needed to spark the engine.
Verifying the electrical functionality of the ignition coil is essential to ensure optimal performance and reliable ignition.
To test the ignition coil, you can start by checking the primary and secondary windings using an ohmmeter.
Begin by disconnecting the spark plug wire and removing the ignition coil from its mounting bracket.
Carefully inspect the coil for any signs of damage or corrosion.
Connect the ohmmeter to the primary and secondary terminals of the ignition coil while following the manufacturer’s instructions.
An acceptable reading for the primary winding is typically around 2 to 3 ohms, while the secondary winding should read in the range of 6,000 to 15,000 ohms. If the readings are outside these ranges, it is likely that the ignition coil is faulty and needs to be replaced.
6. Evaluating the Battery: Checking Charge and Connections
When evaluating the battery of your lawn mower, it is crucial to check both the charge and the connections to ensure optimal performance.
Starting with the charge, use a digital multimeter to measure the voltage.
A fully charged battery should read around 12.6 volts. If the reading is significantly lower, it may indicate a weak or depleted battery that needs to be recharged or replaced.
Alternatively, if the reading is too high, it suggests an overcharged battery which can cause premature failure. To maintain the battery’s charge, it is recommended to use a battery maintainer or trickle charger during periods of inactivity.
Next, inspect the battery connections for any signs of corrosion or looseness.
Corrosion, typically seen as a white or greenish substance on the terminals, can inhibit the flow of electricity and weaken the battery’s performance.
To clean the connections, use a wire brush or a solution of baking soda and water. Ensure that the connections are tight and secure, as loose connections can lead to power loss and unreliable starting.
It is worth noting that in some cases, a battery may appear to be in good condition and have proper connections, yet still fail to provide enough power.
In such instances, it is advisable to consult a professional for further diagnosis and possible replacement.
7. Reviewing the Oil Levels: Maintaining Lubrication
When it comes to maintaining your lawn mower, one crucial aspect that should never be overlooked is reviewing the oil levels.
Adequate lubrication is essential for the smooth functioning of the engine and the overall performance of the machine.
Regularly checking the oil levels ensures that there is enough lubricant present to reduce friction and prevent unnecessary wear and tear on the internal components.
To review the oil levels, start by locating the oil dipstick, which can usually be found near the engine.
Remove the dipstick, wipe it clean with a cloth, and then reinsert it back into the oil reservoir.
Ensure that it is fully seated, and then withdraw it again to check the oil level.
The dipstick will have markings that indicate the proper oil level range. If the oil level falls below the lower mark, it is crucial to add the appropriate type and amount of oil recommended by the manufacturer.
On the other hand, if the oil appears dark, gritty, or has a strong odor, it may be an indication that an oil change is needed.
By regularly reviewing and maintaining the oil levels, you can ensure optimal lubrication and prolong the life of your lawn mower’s engine.

8. Inspecting the Wiring: Ensuring Proper Connections
When troubleshooting your lawn mower, it is essential to inspect the wiring to ensure proper connections.
Faulty or loose wiring can lead to electrical issues and potentially prevent your mower from starting or functioning correctly.
To begin this inspection, start by visually examining the wiring harness for any signs of wear, damage, or loose connections.
Next, carefully check each individual wire connection, making sure they are secure and tightly fastened.
Use a multimeter to test the continuity of each wire, ensuring that there are no breaks or interruptions in the circuit. Additionally, inspect the insulation of the wires to ascertain their condition.
Any frayed or exposed wires should be repaired or replaced promptly to prevent further damage or safety hazards.
In conclusion, inspecting the wiring and ensuring proper connections is a crucial step in troubleshooting your lawn mower. By carefully examining the wiring harness, testing the continuity of the wires, and addressing any issues with connections or insulation, you can help maintain the electrical functionality and overall performance of your mower.
Remember, if you are unsure about any wiring-related tasks, it is always recommended to seek the assistance of a professional to avoid any potential risks or complications.
9. Examining the Starter Motor: Assessing Mechanical Functionality
When it comes to troubleshooting your non-starting lawn mower, examining the starter motor is a critical step in assessing its mechanical functionality.
The starter motor is responsible for turning over the engine, providing the initial spark to ignite the fuel and kickstart the mower into action.
To ensure that the starter motor is operating smoothly, there are a few key areas to focus on.
First, check the condition of the starter motor’s gear. Over time, the gear teeth can become worn or damaged, leading to difficulties in engaging the engine.
Carefully inspect the gear for any signs of wear, such as chipped or missing teeth.
Additionally, examine the starter motor’s solenoid, which is responsible for engaging the gear with the engine’s flywheel.
Make sure that the solenoid is securely attached and functioning properly. If any issues are detected with either the gear or solenoid, replacement may be necessary to restore the starter motor’s mechanical functionality.
10. Troubleshooting Additional Components: Solving Other Possible Issues
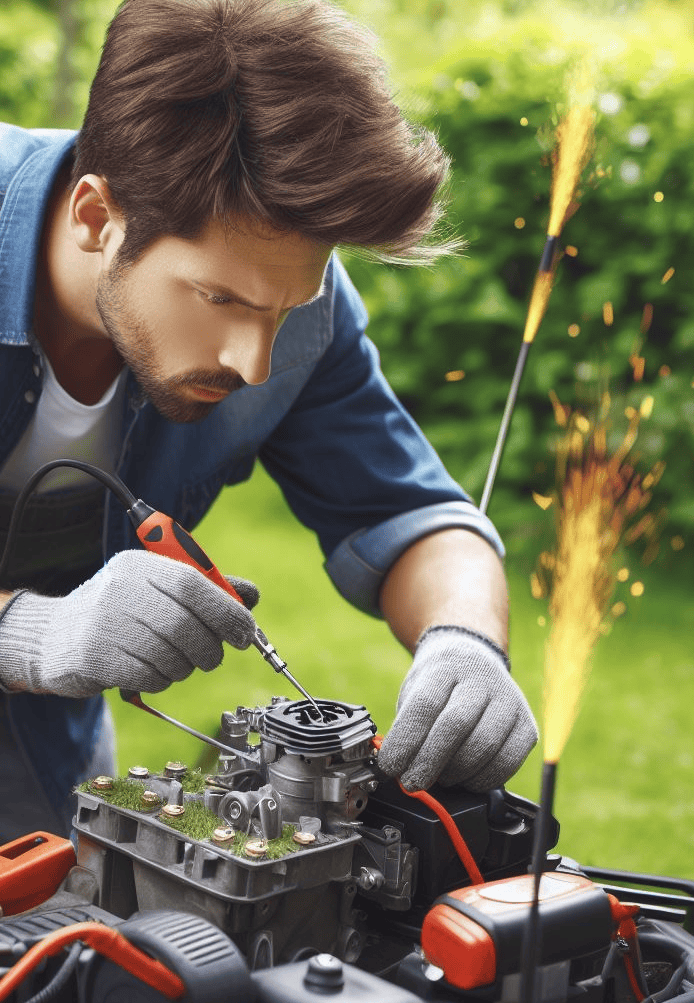 When troubleshooting additional components on your lawn mower, it is important to consider a few common issues that may arise.
One possible problem is a malfunctioning throttle cable, which can affect the engine’s ability to start and maintain consistent power. If you suspect this is the issue, thoroughly inspect the cable for any signs of damage or disconnection.
Be sure to check that the cable is properly adjusted and lubricated, as this can greatly affect its functionality.
If necessary, consult your mower’s manual or a professional for guidance on how to properly adjust and maintain the throttle cable.
Another potential issue could be a faulty safety switch, such as the seat switch or the blade engagement switch. These switches are designed to prevent the mower from starting or running if certain safety conditions are not met, such as sitting on the seat or engaging the blades.
If your mower is not starting or turning off unexpectedly, it is worth checking these switches for any signs of damage or misalignment. Ensure that the switches are properly engaged when necessary and that the wiring connections are secure.
In some cases, these switches may need to be replaced or adjusted by a professional to restore proper functionality and ensure safe operation.
Verifying Safety Features ⛑️: Checking for Engaged Components
When it comes to operating a lawn mower, safety should always be a top priority.
Verifying the safety features and checking for engaged components is crucial to ensure a secure and accident-free mowing experience. One of the key safety features to examine is the blade engagement system.
This system should be thoroughly inspected to ensure that it is functioning properly.
Look for any signs of damage or wear, and ensure that the engagement lever moves smoothly and locks securely into place.
Additionally, check that the belt and pulley system is in good condition, with no signs of fraying or excessive wear.
This will guarantee that the blades engage and disengage safely, reducing the risk of any injuries or accidents.
Another important component to verify is the presence of a deadman switch.
The deadman switch is a safety feature that automatically stops the mower’s engine when released. This switch is typically located on the handle or dashboard and is designed to prevent the machine from moving when the operator is not in control.
To test this feature, start the mower and engage the blades. Then, release the deadman switch and observe if the engine immediately shuts off.
If it doesn’t, there may be an issue with the switch that needs to be addressed before further use.
Remember, ensuring the proper functioning of these safety features is essential for maintaining a secure mowing environment and preventing any potential accidents.
Preventive Measures: Maintaining Your Lawn Mower for Future Performance
To ensure optimal performance and longevity of your lawn mower, it is essential to implement preventive measures and regularly maintain your equipment. First and foremost, it is crucial to regularly check and replace the oil in your lawn mower.
Engine lubrication is vital for smooth operation and reducing friction, which can cause excessive wear and tear on the engine components. By following the manufacturer’s guidelines for oil change intervals and using the recommended oil, you can ensure proper lubrication and extend the life of your lawn mower.
In addition to proper oil maintenance, it is essential to keep the air filter clean and free from debris. A clogged air filter can restrict airflow, resulting in decreased engine performance.
Regularly inspect and clean the air filter or replace it if necessary. Similarly, regularly inspecting and cleaning the spark plug will ensure efficient ignition and smooth engine operation.
Properly gapped and clean spark plugs are essential for reliable starting and optimal fuel combustion. By addressing these preventive measures, you can maintain your lawn mower for future performance and minimize the risk of breakdowns during the mowing season.
FAQ
How often should I maintain my lawn mower?
It is recommended to perform regular maintenance on your lawn mower at least once a year, preferably before the start of the mowing season.
What are the common reasons for a lawn mower not starting?
Some common causes for a non-starting lawn mower can include issues with the fuel system, spark plug, air filter, carburetor, ignition coil, battery, safety features, wiring, and starter motor.
How can I ensure an adequate fuel supply for my lawn mower?
Check the fuel system by inspecting the fuel tank, fuel lines, and fuel filter for any clogs or damage. Additionally, make sure the fuel is fresh and not contaminated.
What should I do if the spark plug is not igniting properly?
Assess the ignition efficiency by examining the spark plug. If it is dirty, clean or replace it. Make sure the spark plug gap is set correctly and that the ignition coil is functioning properly.
Why is it important to ensure proper airflow through the air filter?
A clogged or dirty air filter can restrict airflow to the engine, causing poor performance and potentially damaging the lawn mower. Regularly inspect and clean or replace the air filter as needed.
How can I clean and adjust the carburetor for optimal performance?
Inspect the carburetor for any clogs or damage. Clean it using carburetor cleaner and adjust the idle and mixture screws according to the manufacturer’s instructions.
How can I test the ignition coil for electrical functionality?
Use a multimeter to measure the resistance of the ignition coil. Compare the reading to the manufacturer’s specifications to determine if the coil is functioning properly.
What should I check when evaluating the battery?
Check the battery charge level using a voltmeter and ensure the connections are clean and tight. If the battery is low, recharge or replace it as necessary.
How often should I review the oil levels in my lawn mower?
It is advisable to check the oil levels before each use of the lawn mower. Refer to the owner’s manual for the correct oil type and capacity.
What safety features should I check on my lawn mower?
Check for engaged components such as the blade engagement lever and the presence of a safety key. Ensure these features are in proper working condition to prevent accidents.
Why is inspecting the wiring important?
Proper wiring connections are essential for the electrical components to function correctly. Inspect the wiring for any damage or loose connections, and repair or replace as needed.
How can I assess the mechanical functionality of the starter motor?
Examine the starter motor for any signs of damage or wear. Test it by applying direct electrical connection and ensuring it spins smoothly without any unusual noises.
Are there any other potential issues I should troubleshoot with my lawn mower?
Yes, there may be additional components that could cause issues such as the throttle cable, governor, fuel solenoid, or safety switches. Consult the owner’s manual for troubleshooting guidance specific to your lawn mower model.

Michael Miller is a gardening enthusiast with a green thumb and a knack for fixing anything related to the world of plants. He envisions owning a vineyard in the future, a testament to his deep love for cultivation. Happily married with two kids in vibrant Tokyo, Japan, Michael’s life is a blend of botanical beauty and family bonds. Join him on his journey where gardening passion meets a vision for the future, and explore the secrets of cultivating a harmonious life.

