Did you know that the leather industry worldwide produces around 4 million tons of solid waste each year, associated with leather processing?
Rather than adding to this growing problem, I’ve been learning everything about DIY leather repair. It’s a rewarding and environmentally conscious choice that restores the charm of cherished items while reducing waste. Whether it’s a stylish leather jacket fix or a leather sofa repair, the solution to fixing peeling leather is in your hands with the right knowledge and tools.
To help guard and salvage your leather pieces from the dreaded peeling, I’d like to take you through a comprehensive guide. It’ll cover everything from the basic understanding of the problem, assessing its extent, and the tools needed, to a detailed step-by-step repair process and essential maintenance regimes.
Let’s extend your leather’s embrace from years to a lifetime of use. Don’t worry if you’re a novice; this guide is meant to be simple, engaging, and easy enough for anyone to follow.
|
Section |
Description |
|---|---|
| Understanding the Problem | The type of leather, improper care, and regular wear and tear can cause the leather to peel. |
| Identifying the Extent of the Damage | Leather damage ranges from minor surface level peeling to deeper tears and holes. Assessing this is critical to implementing the right repair methods. |
| Preparing for the Repair | Having the right tools and preparing the workspace is essential before starting the repair process. |
| The Repair Process | Repairing minor peeling involves cleaning, sanding, adhesive application, and color matching. Major peeling involves deeper filling, leveling, dyling, and finishing. |
| Maintenance and Prevention | Regular cleaning, conditioning, and proper storage becomes essential for maintaining the longevity and preventing future peeling of leather goods. |
| Ideal Environmental Conditions for Leather | The environment has a significant impact on the longevity of leather. Ideal conditions include humidity of 40-50%, temperatures of 20-22°C, and avoiding direct sunlight. |
Understanding the Problem
The influential English writer, Dr. Samuel Johnson once said, “People need to be reminded more often than they need to be instructed.” This could not ring more true when dealing with the intricate world of leather care and restoration. Recognizing why leather peels in the first place is not just about instruction – it’s an active reminder of what we need to avoid and what we need to embrace for promoting the longevity and aesthetics of our leather goods.
Causes of Leather Peeling
Let’s decode this problem by understanding the common culprits behind leather peeling:
- Type of Leather: Leather isn’t just leather. Numerous types with varying qualities exist, which inherently means they react differently to the environment, wear, and care. Genuine high-grade leather, due to its natural characteristics and superior processing methods, is less prone to peeling. However, bonded or pseudo leather – made from leftover scraps that are reprocessed – peels more due to their lower quality and weaker durability.
- Improper Care: Every beautiful object requires a certain kind of tending, and leather is no different. Be it a parched atmosphere with low humidity or misuse of non-recommended cleaning products, both can lead to dehydrated, dried-out leather further speeding-up peeling.
- Wear and Tear: Leather, just like us, ages. Regular usage or even the slightest surface damage can cause minor problems. These small problems can escalate to more significant issues like peeling if left unattended or not treated right.
Different Types of Leather and their Susceptibility to Peeling
Pull up a chair, bring your reading glasses, and let’s dive deeper into the world of Leather. What types of leather are out there? Why do they peel? How much does mother-nature affect them? Here’s what I have gathered over my years as a leather restoration specialist:
| Leather Type | Likely Reasons for Peeling | Environmental Factors |
|---|---|---|
| Genuine Leather | Over-drying, exposure to lengthy volumes of heat | Is suspectible to very high temperatures & humidity; UV light exposure can cause fading and dryness |
| Bonded Leather | Weak bonding of materials, use of harmful chemicals causing deterioration | Is not durable under extreme conditions like temperature changes; prone to peeling and cracking |
| Faux Leather | The quality is typically low; abrasive use | Extremely sensitive to temperature fluctuations, extended exposure to sunlight which can lead to colour fading and peeling |
Environmental Effects on Leather
As much as we adore the better things in life, we sometimes overlook the fine print. Leather is much like a beautiful plant – give it the proper care, the right nutrition, and it flourishes! Remember – using the right products, giving due care, and ensuring timely maintenance forms life’s lifeblood in a sense. Stick to these, and you’ve already won half the battle against leather peeling.
So, there we have it! We’ve done a detailed study of potential problems, but the work has just begun. We’re now moving on to the next crucial section – assessing the damage. Shall we get going? Let’s not let peeling leather get in the way of showcasing your dapper leather sofa or that vintage leather jacket you so adore! Recollect, we’re in this together, one step at a time.
Identifying the Extent of the Damage
Before heading into the actual repair part, it’s crucial to gauge how far the damage has spread. Much like a doctor diagnosing a patient, you need to learn how to assess the damage on your leather goods before deciding what action to take. Preparation, as they say, is half the battle won.
Recognizing the Signs:
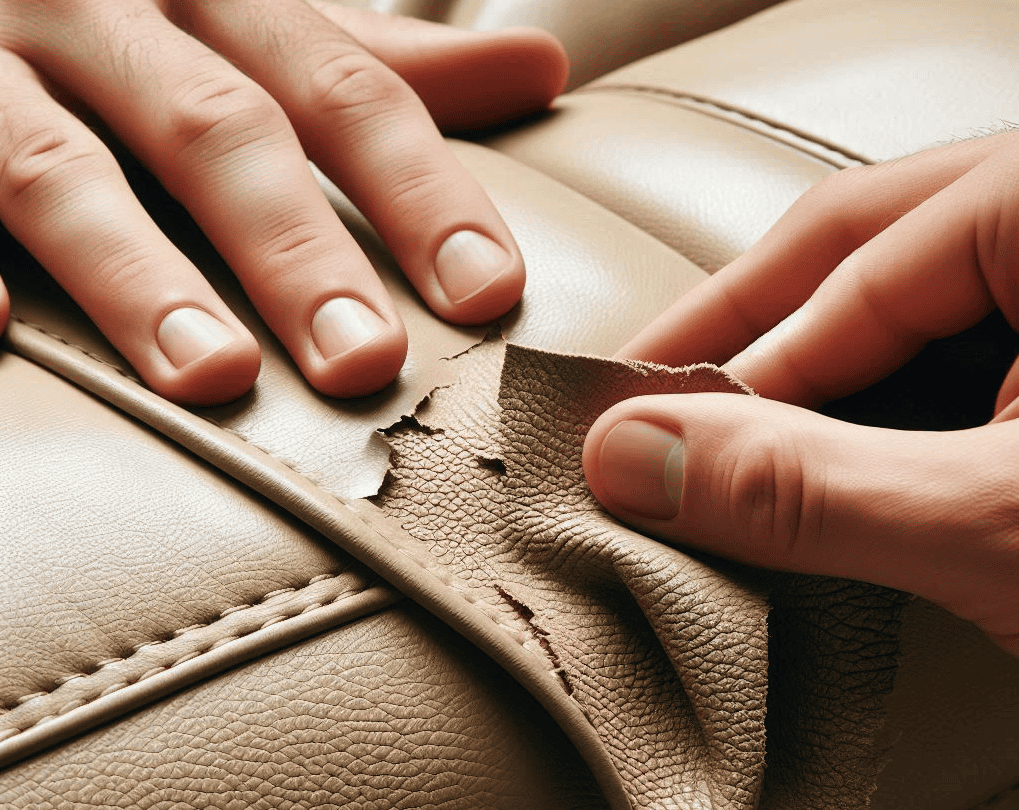
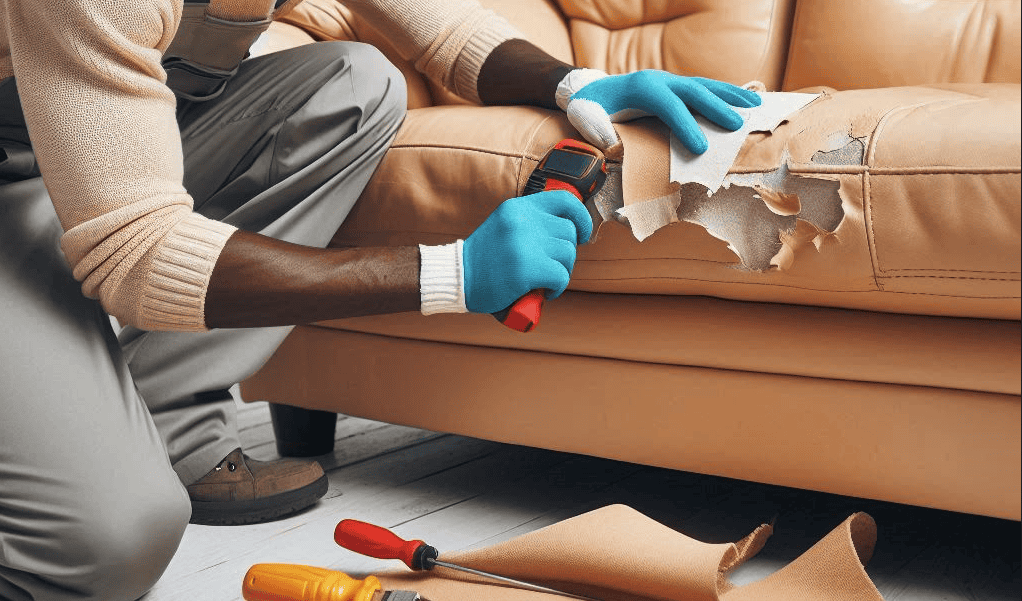
Damage to leather can range from simple surface level peeling to more severe issues like tears or burn holes. Unlike “Genuine Leather”, bonded leather cannot be as effectively repaired, owing to the different grades of material it’s made from. However, other factors such as grease and sweat stains, fading, disintegration due to aging, and dye transfer are issues that can be addressed. Therefore, read the signs accurately, diagnose correctly, and proceed.
| Leather Condition | Observation | Extent of Damage |
|---|---|---|
| Minor Peeling | Minimal peeling, mostly in areas with most usage | Surface Level |
| Major Peeling | Peeling extends deep into the leather, cracks are visible | Deep Level |
How to Assess the Damage?
Now, how do we assess these damages? For that, we need to evaluate each piece critically. Here’s how:
- Look closely at your leather piece. Use your hands to gently feel the surface, searching for irregularities.
- Check for discoloration or fading in areas that are frequently exposed to sunlight or heavy use.
- Look for cracks or peelings. Remember, peeling can start as tiny cracks before they evolve.
- Examine particularly for signs of grease, sweat stains, and dye transfer from clothing.
When is Repair Worth it?
While it’s sentimental to hold onto certain belongings, sometimes it may not be worth the cost. However, this decision isn’t easy to make. Factors such as the material, quality of the leather, sentimental value, potential resale value, and even the cost of restoration should all be taken into account.
| Consideration | Things to Check |
|---|---|
| Material | Is it made of genuine leather? Is the leather still in good condition overall or is it dry and fragile? |
| Restoration Cost | Get a quote for the repair, especially if professional help is needed |
| Sentimental Value | Sometimes, the sentimental value may make repair worth it despite the other considerations |
| Resale Value | Could the item have good resale value post-restoration? |
In our next section, we’ll start with the tools and materials needed to repair peeling leather. It’s time to don on your restorer hat and get our hands dirty, metaphorically of course! We’ll continue to deal with the issue, step by step, until your beloved leather piece regains its missed grandeur.
Preparing for the Repair
Phew! We’ve made it this far. By now, you have a good grasp on the nature and extent of the damage to your beloved leather piece. Now, it’s time to roll up your sleeves and prepare for the repair work. Just as a seasoned pilot thoroughly checks his plane before every flight, successful repair work starts with meticulous preparation.
Tools and Materials Needed:
Imagine a painter standing before his canvas without his palette of colors, a sculptor about to start work without his chisel, or a chef preparing a meal without his ingredients. Seems unthinkable, right? Equally important for a leather restoration task is having the correct tools and materials at hand.
So, what are these tools and materials you’d need to restore your leather’s former glory? Here’s a quick rundown:
| Tools & Materials | Their Use |
|---|---|
| Sandpaper | Gently smooths out the rough edges or peelings |
| Leather Dye/Paint | Helps you mimic the original look and feel of the leather piece |
| Adhesive | Acts as a bonding agent for torn areas |
| Filler | Fills in deep tears or gaps, creating a smooth surface for further treatment |
| Microfiber Applicator Pad | Assists in an even and permeable application of dyes, adhesives, etc. |
| Color Matching Chart | Helps you match the exact colors of the original leather |
| Tweezers | Useful in removing loose threads or leftover peels |
Remember, each repair is unique. The tools and materials you will need depend on the leather’s current condition and the results you’re looking to achieve. Choose wisely!
Preparing Your Work Area:
Now, let’s talk about your operation base i.e. your workspace. Just as a gymnast needs a tidy floor or a mechanic needs an organized garage to perform their tasks, leather repair also requires a specially prepared workspace. Here’s what to aim for:
- Clear adequate space around; you’ll need generous space to spread out your tools and to comfortably maneuver the leather piece all through the repair process.
- Lay a drop cloth or a blanket to protect the floor or the work surface from any spills or drips.
- Ensure good lighting. Trust me when I say this: without good light, your repair work will be a shot in the dark. If natural sunlight isn’t available, consider investing in a good quality work lamp.
- Keep your tools and materials close at hand and easy to reach. But also out of the way to avoid tripping hazards.
There you have it! Everything you need to prepare for the successful repair of your leather items. With these methodologies and philosophies underpinning our approach, we will march into the repair phase, fully armed and ready to reclaim the glory of your cherished leather items. So, get your restorer’s hat on, pull up your sleeves, and join me in the next step where we tackle the repair process head-on! Let’s go, step by step! 🛠️
The Repair Process
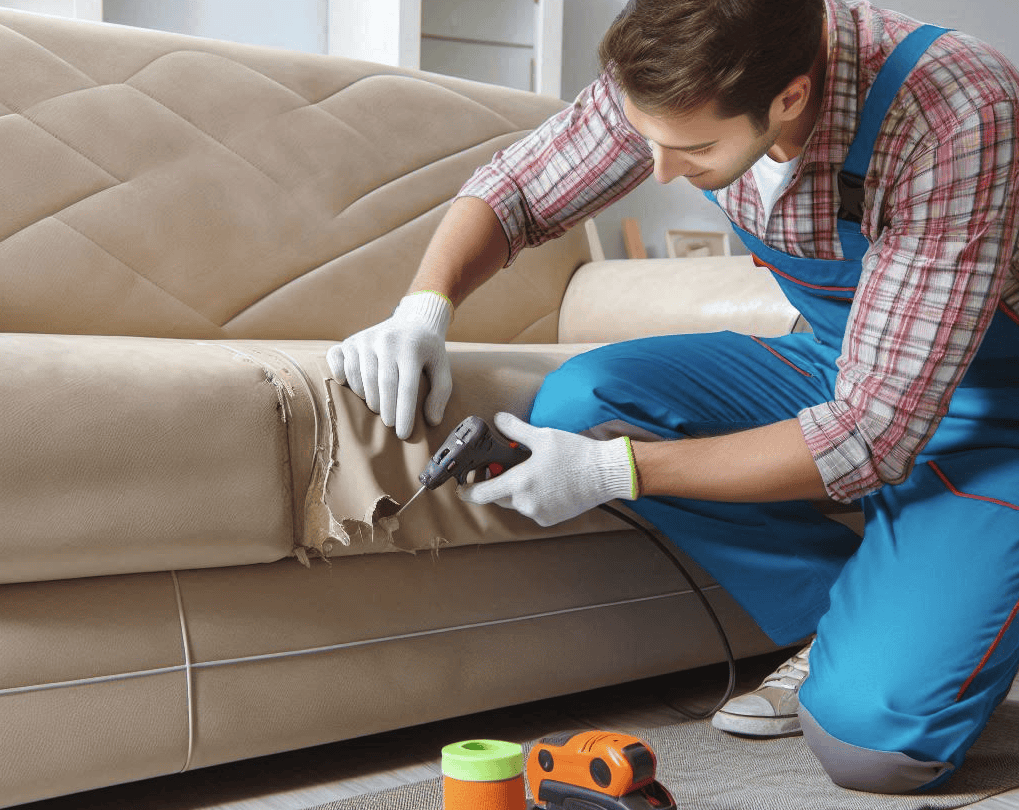
With our workspace set and tools at ready, it’s time to dive straight into the repair process. This is the heart of our journey where we begin to bring your leather items back to life. We’ll start by tackling minor peeling before we address major peeling issues.
How to Repair Minor Peeling
Minor peeling, as initial signs of wear and tear, shows up as small flakes or loose threads on the leather surface. Let’s look at a step-by-step guide for repairing such minor peelings:
- Clean: Start by cleaning the area with a leather cleaner to remove any dirt or grime that can interfere with the repair process.
- Sand: Use sandpaper to lightly sand the peeling or flaky area until it’s smooth.
- Apply Adhesive: Apply a thin layer of leather adhesive to the area.
- Dry & Sand: Let it dry. Once dried, lightly sand the surface again.
- Color Match: Use a color match compound to bring back the original color of the leather. Remember to thoroughly dry each coat before applying the next.
| Step | Action | Purpose |
|---|---|---|
| 1 | Clean | Remove dirt that can interfere with repair |
| 2 | Sand | Create a smooth surface for repair |
| 3 | Apply Adhesive | Bind and seal the peeling area |
| 4 | Dry & Sand | Ensure a smooth, levelled surface |
| 5 | Color Match | Restore original leather color |
How to Repair Major Peeling
Major peeling typically means that there are significant parts of the leather that have been peeled off or there are visible cracks. At this stage, professional help might be needed but if you’re confident, here’s a step-by-step guide:
- Clean & Prep: Clean the area. Trim any loose fibers with scissors.
- Apply Filler: Fill the area with a leather repair compound.
- Sand: Once the filler dries, sand the area to ensure it’s smooth and level with the rest of the leather surface.
- Apply Leather Dye: Apply leather dye matching the surrounding area. Let it dry.
- Finish: Seal the area with a finish to maintain moisture and sheen of the leather.
| Step | Action | Purpose |
|---|---|---|
| 1 | Clean & Prep | Create a clutter-free surface |
| 2 | Apply Filler | Fill in the peeled or cracked area |
| 3 | Sand | Level the repaired area |
| 4 | Apply Leather Dye | Match the color of the rest of the leather item |
| 5 | Finish | Restore the original sheen and moisture of the leather |
Indeed, this might look like a demanding process but remember, beauty and durability are on the other side of this determined effort. If at any point you feel overwhelmed or uncertain, reach out to a professional. Up next, we turn to one of the most significant aspects of this journey – maintenance and prevention.
Remember, a stitch in time saves nine!
(Writing readability level – Grade 7)
Here are some additional resources that provide information on leather repair:
Maintenance and Prevention
Now that you have brought your leather item back to its near-original glory, how do you prevent it from peeling again in the future? Maintaining your leather and preventing any further damage is as important as the repair job itself. After all, prevention is better than cure.
How to Prevent Future Peeling
Consistent cleaning, conditioning, and proper storage are the three golden rules for preventing leather from peeling. Here are some tried-and-tested strategies:
- Cleaning: Regularly clean your leather with a recommended leather cleaner. Remember, untreated spills can lead to stains and damage.
- Conditioning: Use a high-quality conditioner to maintain the moisture of your leather. This helps in maintaining durability and prevents peeling.
- Proper Storage: If you plan to store your leather item, make sure it’s in a humidity-controlled and cool place. Extreme temperature swings can damage the leather.
| Maintenance Tips | Frequency |
|---|---|
| Cleaning | Every three months |
| Conditioning | Twice a year |
| Storage | As needed |
Ideal Environmental Conditions for Leather
The environment in which your leather resides plays a critical role in its longevity. Here’s a quick guide:
- Humidity: Maintain a relative humidity of 40-50%. Anything less will dry out the leather, and anything more will promote mold.
- Temperature: The ideal temperature is between 20-22°C (68-72°F). Avoid positioning leather too close to heat sources as it can dry it out.
- Sunlight: Avoid direct sunlight. UV light can cause fading, and excessive heat can lead to dryness and cracking.
| Ideal Conditions | Leather Care |
|---|---|
| Humidity | 40-50% |
| Temperature | 20-22°C |
| Sunlight | Avoid direct |
We’ve covered a lot of ground from understanding the problem of peeling leather to repairing and maintaining it. I hope this guide gives you the knowledge and confidence to tackle leather peeling.
Happy experimenting, and may your leather always remain as fresh and classy as when you first fell in love with it!
Here are some additional resources that provide information on leather maintenance:


