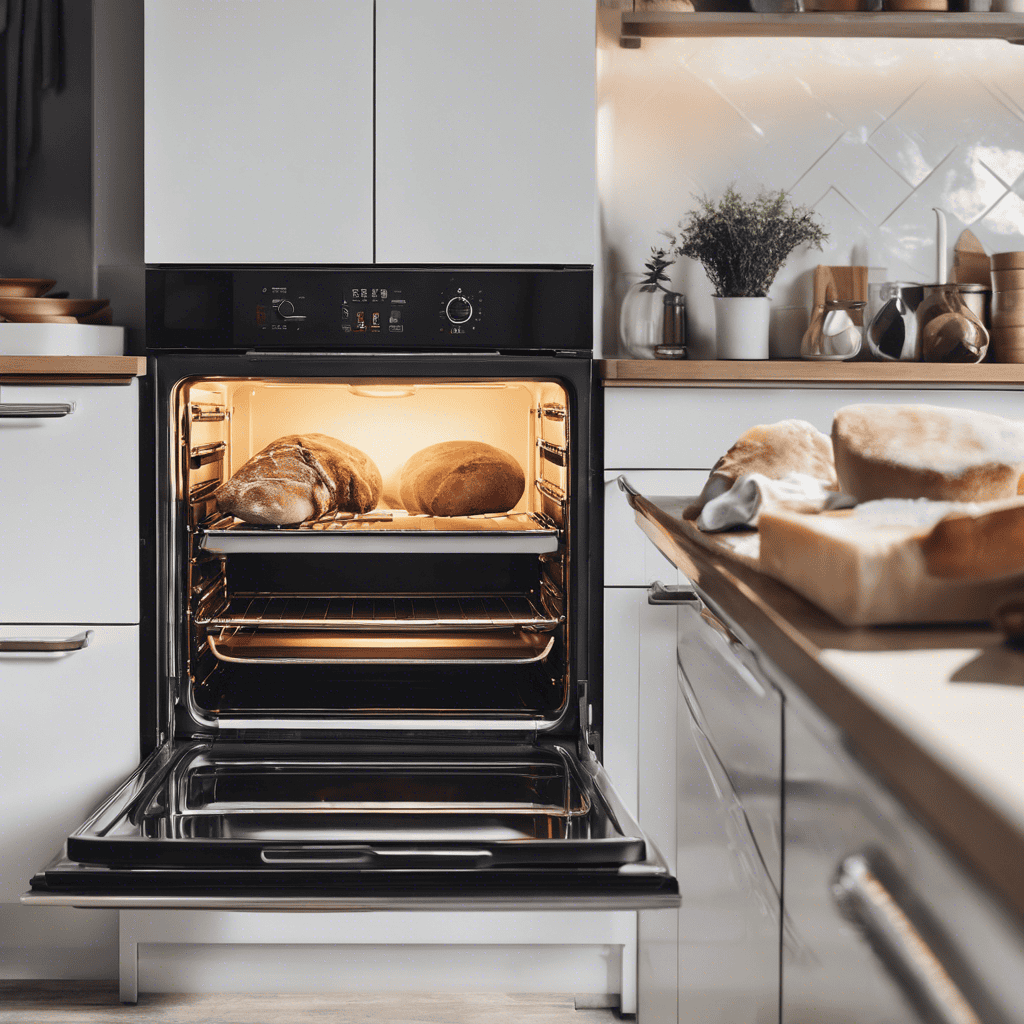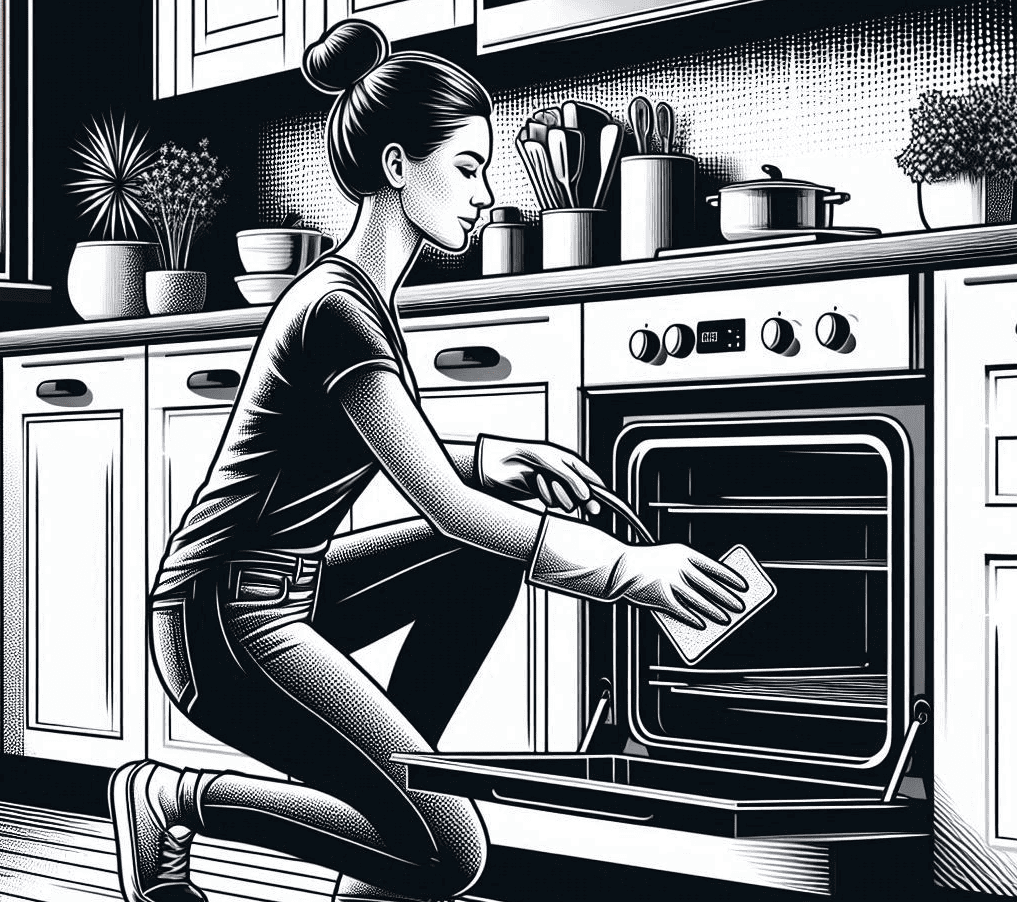
So, you know how it is when you finally muster up the motivation to clean your electric oven, but then you’re overwhelmed with the thought of where to start and how to do it without damaging anything? Well, fear no more, because I’ve got you covered. In this article, I’ll walk you through a step-by-step guide on cleaning an electric oven, providing you with all the tips and tricks to make this tedious task a breeze. From gathering the necessary supplies to tackling those stubborn stains, by the end of this article, you’ll be an expert in oven cleaning. So, let’s get started on making your oven sparkle again!
- Step-by-Step Guide to Cleaning Your Electric Oven Like a Pro
- Step 1: Assemble Your Cleaning Tools
- Step 2: Prepare the Oven for a Deep Clean
- Step 3: Select the Best Oven Cleaning Method
- Step 4: Deep-Clean the Interior of the Oven
- Step 5: Tackling Stubborn Stains and Build-Up in Your Oven
- Step 6: Thoroughly Clean Oven Racks and Accessories
- Step 7: Effectively Clean the Oven Door
- Step 8: Thoroughly Clean the Exterior of the Oven
- Step 9: Reinstall Oven Racks and Accessories
- Final Step: Performing a Test Run of Your Clean Oven
Step-by-Step Guide to Cleaning Your Electric Oven Like a Pro
Cleaning an electric oven might sound challenging, but it’s a task that can be simplified with the right approach and tools. This detailed guide will lead you through a systematic process to make your oven look as good as new. From prepping with the essential tools to giving your oven a final test post-cleaning, we cover every angle.
Step 1: Assemble Your Cleaning Tools
Proper preparation is the key to a hassle-free cleaning experience. To ensure everything goes smoothly, here’s what you’ll need to gather before you begin:
- Oven Cleaner: Opt for a commercial cleaner or a homemade mix (details below).
- Baking Soda & Vinegar: For natural cleaning solutions.
- Warm Water: Helps in diluting stains and easing scrubbing.
- Soft Scrub Brush or Sponge: For gentle yet effective scrubbing.
- Microfiber Cloths or Paper Towels: For wiping and polishing.
- Rubber Gloves: To protect your hands.
- Plastic Scraper or Spatula: To remove stubborn residue.
- Plastic Trash Bags: Handy for disposal.
- Safety Goggles: Essential for protecting your eyes.
Remember, safety first!
Ensure the electric oven is turned off and unplugged. To safeguard your health and comfort, ventilate your kitchen by opening the windows or using an exhaust fan to avoid inhaling fumes.
Creating Your Homemade Oven Cleaner: Mix ½ cup of baking soda with a few tablespoons of water to create a thick paste. Adjust the consistency as needed. Apply this paste inside the oven, targeting grimy spots. Allow it to sit for several hours or overnight. Later, spray vinegar over areas where the paste has been applied; this interaction will help lift dirt and grime effectively.
Step 2: Prepare the Oven for a Deep Clean
Before diving into the actual cleaning, preparing your oven is crucial. This ensures that the cleaning agents can reach every nook and cranny for an impeccable clean. Follow these detailed steps to get your oven ready:
Remove Oven Racks:
- Extract the racks: Carefully pull out the oven racks and set them aside. If they’re heavily soiled, consider soaking them while you clean the rest of the oven.
- Soaking option: Place the racks in a sink or bathtub lined with old towels to prevent scratching. Fill the tub with hot water and add a half cup of dish soap or baking soda. Let them soak for at least two hours or overnight for best results. This pre-treatment will ease the removal of grime and grease.
- Alternative cleaning option: If you prefer to clean the racks later, follow a detailed cleaning guide in Step 6.
Clear Out Loose Debris:
- Scrape carefully: Using a plastic scraper or a silicone spatula, gently remove crumbs or chunks of burnt food from the oven’s floor and walls. Take care not to scratch the surfaces.
- Vacuum option: For an even cleaner preparation, use a handheld vacuum to suck up the debris after scraping. This prevents any leftover particles from burning during the next usage.
Inspect and Clean the Oven Door:
- Check for obstructions: Open the oven door and inspect the edges and the oven seal for any food particles or residues that might hinder its efficiency.
- Wipe the door: Using a damp microfiber cloth, clean the inside of the oven door. Pay special attention to the door seals, which can harbor grease and grime.
- Glass cleaner: For glass doors, use a glass cleaner to remove fingerprints and smudges for a streak-free shine.
Step 3: Select the Best Oven Cleaning Method
Choosing the right cleaning approach is key to effectively managing the stubborn residues inside your oven. Consider the following methods based on your personal preference, available ingredients, and the oven’s condition:
| Method | Description | Instructions |
|---|---|---|
| Store-Bought Oven Cleaner | These cleaners are formulated to dissolve grease and baked-on food quickly. They are powerful and convenient, but they may contain chemicals that require proper handling. | 1. Ensure the kitchen is well-ventilated. 2. Spray evenly, covering the entire oven interior. 3. Follow the waiting time as instructed on the label before scrubbing and rinsing. |
| DIY Natural Cleaner | Using ingredients like vinegar and baking soda, this method is eco-friendly and less abrasive to the oven’s interior surfaces. | 1. Mix 1/2 cup of baking soda with water to form a paste. 2. Cover the oven surfaces with the paste and let sit for several hours. 3. Spray vinegar over the paste, wait for it to foam, then wipe clean. |
| Steam Cleaning | If your oven has a steam cleaning function, this quick method uses heat and water to soften residues without chemicals. | 1. Fill the oven’s bottom tray with water. 2. Activate the steam clean function. 3. Wipe down the oven after the cycle completes. |
Tips for Each Method
- Store-Bought Cleaners: Always wear gloves and possibly a mask; these products can emit strong fumes.
- DIY Natural Cleaner: For tougher stains, leave the baking soda paste overnight before applying vinegar.
- Steam Cleaning: This method is typically less effective on heavily soiled ovens but can be ideal for regular, light cleanings.
By presenting this information in a table, your readers can easily compare methods and decide which one suits their needs best. Additionally, expanding on the instructions for each method not only educates but also reassures your readers, making the cleaning process less daunting.
Step 4: Deep-Clean the Interior of the Oven
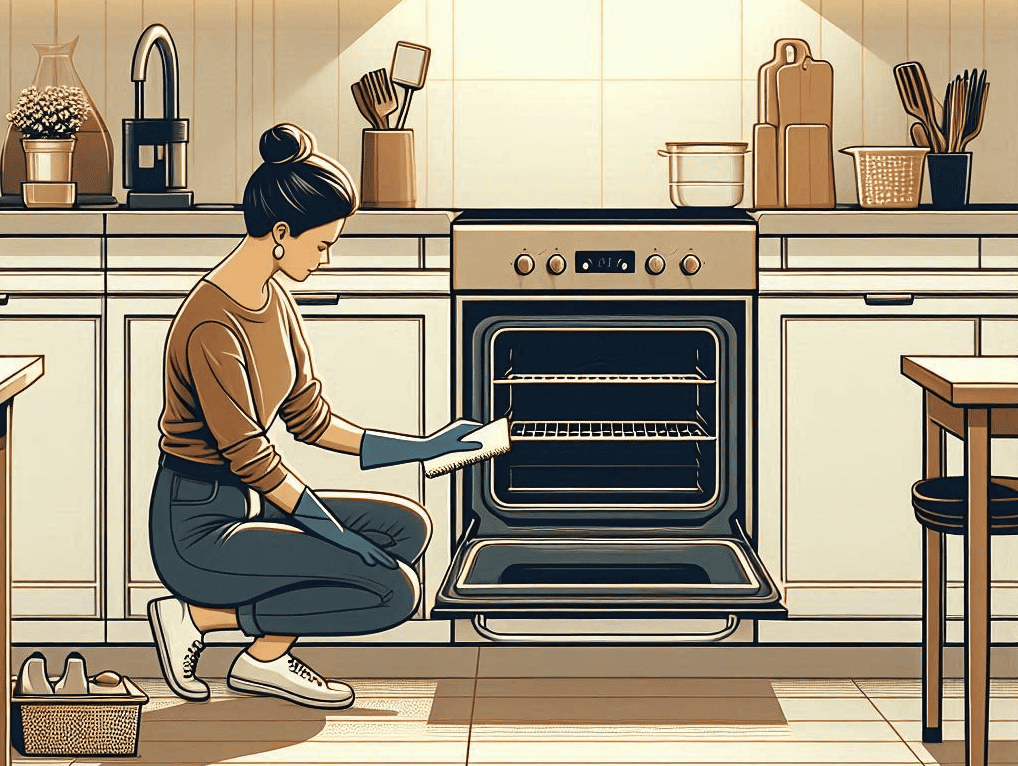
Now that you have selected your preferred cleaning method, it’s time to get down to the business of rejuvenating your oven’s interior. Here’s a structured approach that will leave your oven spotlessly clean:
Cleaning Process Overview
- Apply the Cleaning Solution: Generously apply your chosen cleaner—commercial or natural—to all interior surfaces of the oven, including the back, sides, bottom, and door.
- Dwell Time: Allow the cleaner to sit and break down the grease and grime. The duration will depend on the cleaning agent used.
- Scrubbing Action: Using a non-abrasive tool, scrub the oven interiors to remove loosened dirt and residues.
| Action | Tools | Procedure | Tips |
|---|---|---|---|
| Apply Solution | Soft scrub brush or sponge | Evenly spread the cleaning agent across all surfaces. For hard-to-reach spots, you might want to use an old toothbrush. | Focus on areas with the heaviest build-up. |
| Let It Sit | Timer | Set a timer to remind you when to start scrubbing: – Commercial cleaners: As per the product’s instructions. – Natural solutions: Typically around 30 minutes. |
Keep the room ventilated while the cleaner is active. |
| Scrub | Non-abrasive scrub brush | Gently but thoroughly scrub the oven. Start from the top and work your way down to prevent dripping on cleaned areas. | Use circular motions for more stubborn spots. |
| Wipe Clean | Damp cloth or sponge | After scrubbing, wipe down all surfaces with a damp cloth to remove any residual cleaner and loosened grime. | Change cloths frequently to avoid re-depositing dirt. |
Finalizing Your Clean
Once you’ve scrubbed every inch, take a clean, damp cloth and wipe down the interior to catch any leftover residues. This step ensures no cleaning solution remains, which could affect the taste of your food or produce unpleasant smells during cooking.
Additional Tips:
- Tackling Stubborn Stains: If you encounter areas that are particularly resistant, apply a small amount of undiluted cleaning agent directly to the stain. Allow it to sit for an additional 10-15 minutes before scrubbing again.
- Safety First: Ensure you wear gloves throughout the process to protect your skin from harsh chemicals or natural acidic solutions.
Step 5: Tackling Stubborn Stains and Build-Up in Your Oven
Persistent stains and burned-on grime in the oven can be formidable, but with the right technique, these can be effectively managed. Here’s how to specifically address these tough spots for a spotless interior.
Procedural Overview
- Prepare the Cleaning Paste: Mix baking soda with water to create a potent cleaning paste.
- Application: Apply this paste liberally to areas with stubborn stains.
- Dwelling Time and Scrubbing: Allow the paste to do its magic before scrubbing away the grime.
| Step | Tools Needed | Procedure | Time | Tips |
|---|---|---|---|---|
| Prepare the Paste | Bowl, spoon | Mix 3 tablespoons of baking soda with water until it forms a thick paste. | Immediate | Adjust the water amount to achieve paste consistency. |
| Apply the Paste | Soft scrub brush or sponge | Generously apply the baking soda paste directly onto the stained or grimy areas. Make sure to cover them completely. | Application time less than 5 minutes | Make circular motions while applying to ensure full coverage. |
| Let Paste Sit | Timer (optional) | Allow the paste to sit on the surface to break down the grime. More severe stains may require longer sitting times. | 15-30 minutes depending on severity | Set a timer as a reminder to start scrubbing. |
| Scrub and Remove | Scrub brush or sponge, damp cloth | Scrub vigorously where the paste was applied. Use a damp cloth to wipe away the loosened grime and leftover paste. Repeat if necessary for particularly stubborn spots. | 5-10 minutes for scrubbing | Multiple repetitions may be needed for very stubborn stains. |
Additional Tips for Dealing with Stubborn Oven Stains:
- Heat Assistance: For extremely stubborn stains, slightly warming the oven before applying the baking soda paste can enhance its efficacy. Ensure the oven is warm, not hot, to avoid burns.
- Alternative Solutions: If stains persist, consider using a solution of vinegar and water sprayed onto the baking soda paste before scrubbing. This can help by causing a chemical reaction that loosens the grime further.
- Protective Measures: Always wear gloves to protect your hands from grime and potential skin irritants in cleaning solutions.

Step 6: Thoroughly Clean Oven Racks and Accessories
While the main compartment of your oven is getting the necessary attention, you should also take care of the racks and other removable accessories which can accumulate grime and grease. Here’s a systematic approach to effectively and efficiently cleaning these components.
Comprehensive Process:
- Soaking the Racks and Accessories: Soften the grime for easier cleaning.
- Scrubbing and Rinsing: Remove all the residues.
- Drying and Reassembling: Ensure everything is dry before reinstallation.
|
Step |
Tools and Materials | Procedure | Duration |
Tips |
|---|---|---|---|---|
| Soak | Bathtub or large sink, warm water, dish soap or vinegar | Fill the bathtub or sink with warm water. Add dish soap or a cup of vinegar and submerge the racks and other accessories. Allow them to soak to loosen the grime. | 2-3 hours or overnight | For heavier grime, consider adding baking soda to the mixture. |
| Scrub | Soft scrub brush or sponge | After soaking, scrub the racks and accessories to remove any leftover deposits. | Variable, depends on the level of soil | Use non-abrasive tools to avoid scratching surfaces. |
| Rinse and Dry | Clean water, towel | Rinse thoroughly with clean water and dry with a towel or let air dry before reassembling in the oven. | Immediate after scrubbing | Ensure all items are completely dry to prevent rust. |
Cleaning Removable Accessories:
- Baking Trays and Broiler Pans: These should ideally be soaked if heavily soiled, similar to the racks. Use a grease-cutting dish soap for best results.
- Oven Thermometer and Other Small Tools: These items can often be wiped with a vinegar-dampened cloth if not too greasy, or soaked briefly in a soapy solution.
Step 7: Effectively Clean the Oven Door

The oven door is a crucial component that often accumulates visible stains and fingerprints. Cleaning it properly is essential for both aesthetic and functional reasons. Here’s how to thoroughly and safely clean your oven door.
Detailed Procedure for Cleaning the Oven Door
- Removal of the Oven Door: This step facilitates an easier and more thorough cleaning.
- Cleaning the Glass: Addressing both sides to remove greasy films and other residues.
- Reassembling: Ensuring the door is properly attached and functional.
|
Step |
Tools and Materials | Procedure |
Tips |
|---|---|---|---|
| Remove Door | Oven’s manual | Consult the oven’s manual for specific instructions on how to safely detach the door from the hinges. Follow these steps carefully to avoid any damage. | Keep screws and hardware in a small dish to avoid loss. |
| Clean the Glass | Microfiber cloth or sponge, cleaning solution | Apply your chosen cleaning solution (commercial cleaner or a mix of vinegar and water) to a microfiber cloth or sponge and wipe down both sides of the glass thoroughly. | Pay special attention to corners and edges where grease builds up. |
| Reassemble Door | Oven’s manual | Carefully reattach the oven door to its frame following the manual’s instructions. Ensure it aligns correctly and check that it opens and closes smoothly. | Perform a function test to ensure the door seals properly. |
Cleaning Between the Glass Panels
- If your oven door has two layers of glass, and you notice grime between them, consult the manual to see if disassembly is recommended or possible for cleaning. If unsure, it might be best to contact a professional.
Safety Precautions
- Wear Gloves: Protect your hands from sharp edges and chemicals.
- Support the Door: When removing and reassembling, make sure the door is adequately supported to prevent any bending or breaking.
Step 8: Thoroughly Clean the Exterior of the Oven
A clean exterior not only enhances the overall appearance of your oven but also contributes to maintaining the kitchen’s hygiene. Here’s a detailed strategy to effectively clean the exterior surfaces of your oven.
Procedure for Cleaning Exterior Oven Surfaces
- Choosing the Appropriate Cleaning Solution: Based on your oven’s material.
- Cleaning the Control Panel and Knobs: Care is needed to avoid damage.
- Wiping Down the Remaining Surfaces: Ensure a consistent look.
|
Area |
Tools and Products | Procedure |
Tips |
|---|---|---|---|
| Control Panel and Knobs | Microfiber cloth, suitable cleaning solution | Lightly dampen the cloth with your chosen cleaning solution and gently wipe down the control panel and knobs. | Be cautious around electronic components; avoid excessive moisture. |
| Stainless Steel Surfaces | Microfiber cloth, stainless steel cleaner or water mixed with mild detergent | Apply stainless steel cleaner or detergent solution to a cloth and polish the surface following the grain of the metal. | Use gentle circular motions to avoid scratching the finish. |
| Painted or Enamel Surfaces | Soft cloth, mild detergent solution | Use a soft cloth dampened with a mild detergent solution to gently wipe the surface. | Do not use abrasive cleaners or pads that could damage the surface. |
Additional Cleaning Tips:
- Spot Cleaning: For areas with stubborn spots or drips, use a bit of baking soda on a damp cloth to gently scrub away the residue.
- Regular Maintenance: Regularly wiping the exterior will prevent the build-up of grease and dirt, making deep cleaning easier.
- Fireplace connect: Associate your regular cleaning schedule with another routine household task, like checking smoke detectors, to keep it consistent.
Step 9: Reinstall Oven Racks and Accessories
Properly replacing the oven racks and other components is the last step in maintaining your oven’s functionality and readiness for use. Here’s a detailed breakdown of how to achieve this effectively:
Detailed Steps for Reinstallation
- Ensuring Dryness of Racks and Accessories: Prevent rust and ensure longevity.
- Positioning the Oven Racks: Facilitates effective cooking.
- Reattaching Accessories: Ensures that all components are ready for the next baking session.
| Task | Tools and Tips | Procedure | Key Pointers |
|---|---|---|---|
| Dry the Racks | Clean towel or suitable rack for air drying | Ensure that each rack is thoroughly dried either with a towel or by air drying. | Although air drying is ideal, a towel can speed up the process if you’re short on time. |
| Reinstall Oven Racks | – | Carefully slide each rack back into its designated slot in the oven. | Ensure racks are correctly aligned and fully inserted to prevent tipping when a dish is placed on them. |
| Place Other Accessories | – | Reattach any additional items such as baking trays, broiler pans, and thermometers. | Double-check that all items are secure and correctly positioned. |
Additional Tips and Considerations:
- Check Alignment: Once installed, pull each rack slightly to ensure it’s securely locked in place.
- Avoid Force: If a rack or accessory doesn’t fit easily, remove it and try again gently. Forcing it may bend the metal or damage the oven.
- Final Inspection: Perform a quick visual inspection to make sure everything fits as it should and doors close smoothly without obstruction.
Final Step: Performing a Test Run of Your Clean Oven
The final step after a thorough cleaning is to verify that your oven is functioning correctly. This ensures your safety and the appliance’s efficiency before you resume cooking.
Detailing the Oven Testing Procedure
Following your cleaning efforts, it’s important to conduct a test run to detect any leftover residues and ensure the oven operates correctly.
| Action | Procedure | Purpose and Tips |
|---|---|---|
| Preheat the Oven | Turn the oven on and set it to a low temperature, 350°F (175°C), to allow it to warm up gradually. | Detection of Residues: This step helps in identifying any smells that indicate cleaning products or residues left behind. |
| Monitor for Odors | Observe if there are any unusual odors emanating from the oven during the preheating phase. | Safety Check: Unusual odors can be a sign of leftover cleaner which needs to be cleaned out to avoid tainting food or causing smoke during subsequent uses. |
| Verify Functionality | Check if the oven reaches the set temperature and assess if all functions are working as intended. | Operational Check: Ensures the thermostat and heating elements are performing adequately, and the electronic controls (if any) respond correctly. |
Post-Testing Steps:
- Cool Down: If you detect unpleasant odors, turn off the oven and allow it to cool. Once cooled, revisit and clean any areas where you suspect residue remains.
- Recheck: If issues were noticed, after addressing potential residue areas, perform another test run to ensure everything now operates smoothly.
Congratulations on completing the thorough cleaning and maintenance of your electric oven!
By carefully following this detailed 10-step guide, you have revitalized your appliance and ensured its optimal functionality and efficiency. Your oven is now sparkling clean, free from grease and grime, and ready to handle any culinary challenge you throw its way.
Regular maintenance of your oven is key to extending its lifespan and maintaining its performance. Aim to clean your oven every few months or more frequently depending on usage to prevent build-up and potential problems down the line. Remember, a clean oven is more than just a delight to look at; it’s fundamental for safe, efficient, and flavorful cooking.
Lastly, we hope this guide has provided you with valuable insights and practical tips to keep your kitchen’s centerpiece in excellent working order. Happy cooking and enjoy exploring all the tasty possibilities your clean oven has to offer!

Dave Johnson is a mechanical engineer with over two decades of experience in the semiconductor industry. He’s known for his exceptional ability to fix almost any mechanical and electronic device, from leaking faucets to lawnmowers – he is definitely your go-to neighbor for household maintenance issues. When he’s not elbow-deep in his garage doing household repairs, you’ll find him sharing his expertise on fixing everyday maintenance challenges on this site.

