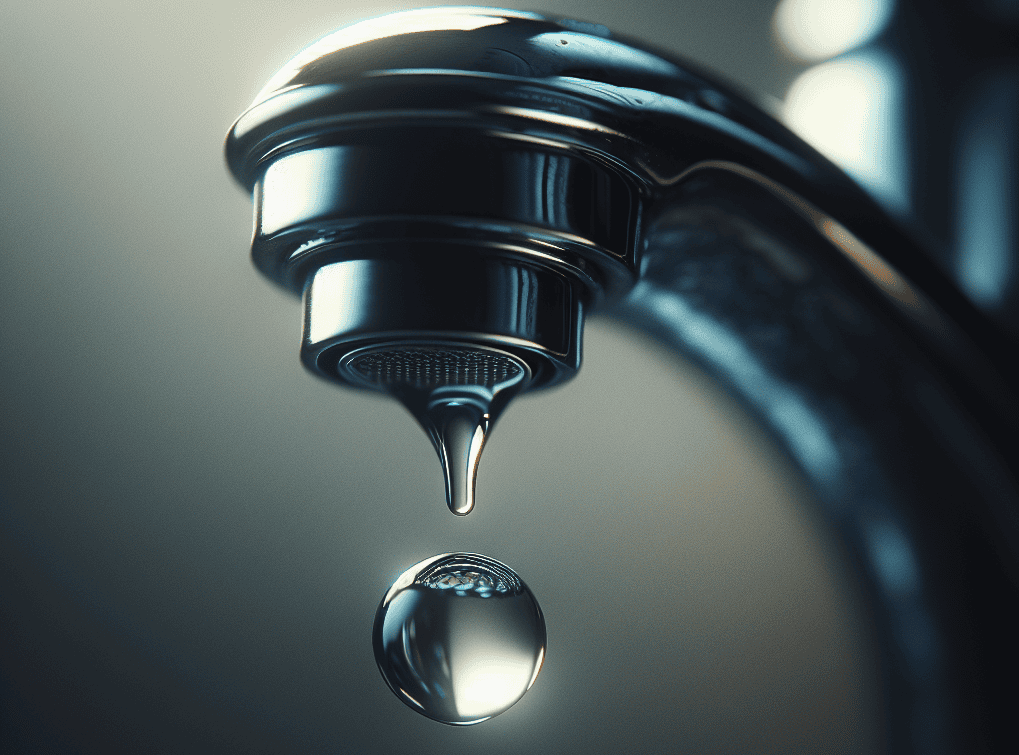
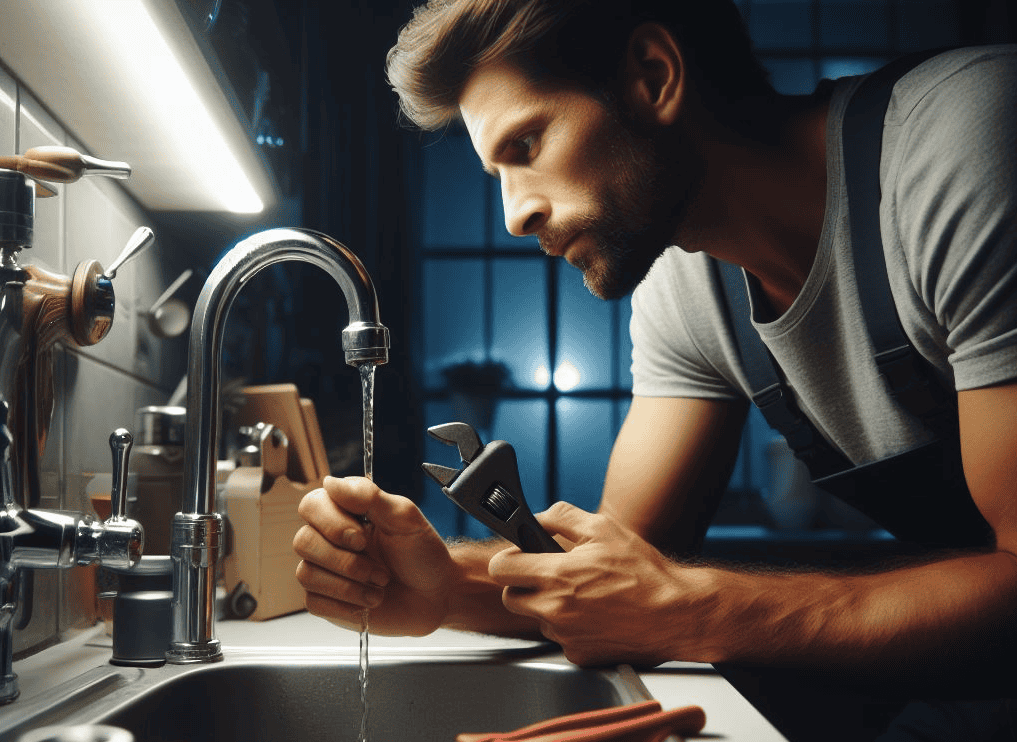
 Did you know that those tiny drips (from your faucet) are part of an alarming statistic?
According to a statistic supported by the Environmental Protection Agency (EPA), drippy faucets contribute to the loss of approximately 1 trillion gallons of water each year, across the United States.
A reality that warrants the urgent need for immediate action.
By addressing issues such as worn seals and faulty valve seats, or simply replacing deteriorated O-rings, you could save nearly 10,000 gallons of water annually from your household alone.
Recognizing the environmental and financial consequences of a leaking faucet, it’s essential to identify the type of faucet and diagnose the specific issue causing the drip.
Common problems leading to leaks should be understood to expedite repairs. DIY solutions can be explored step by step to stop leaks and prevent further damage, but know when to seek professional help for complex repairs. Implementing preventative maintenance measures can help avoid future leaks and prolong the faucet’s lifespan
- The Hidden Costs of a Leaky Faucet
- Understanding Leakage: Types of Faucets and Their Mechanisms
- Common Culprits: Identifying the Causes of a Dripping Faucet
- Fixing a Leaky Faucet: Step-by-Step DIY Guide
- When to Call a Pro: Complications in Faucet Repair
- Regular Faucet Maintenance for Leakage Prevention
- Useful Reads
The Hidden Costs of a Leaky Faucet
When the soft patter of a drip interrupts the silence of your home, it’s not just an annoyance—it’s a herald of hidden costs and environmental repercussions that go beyond the sink.
Understanding these impacts leads us to see the far-reaching effects of what might seem like a small problem. 💧
Environmental Impact of Wasted Water
I have always (in the past) underestimated the significance of a lone drip, yet it is the accumulative effect that reveals the true cost.
A leaky faucet that loses a mere drop per second can squander over 3,000 gallons of water yearly.
This loss means our natural reservoirs are being exhausted faster than they can replenish, leaving ecosystems strained and municipalities grappling with potential water scarcity.
How a Dripping Faucet Drains Your Wallet 💰
The financial toll of a dripping faucet might not be immediately apparent, yet as each drop totals to gallons, my monthly water bill can bear witness to the wastage.
The cost is twofold; not only am I charged for water I don’t use, but the moisture invites uninvited guests like mold and mildew, leading to unnecessary home repair expenses.
Understanding Leakage: Types of Faucets and Their Mechanisms
Whenever I was called to assist in a faucet leak fix (parent and friends), the preliminary step always involved identifying the faucet’s design.
A deep understanding of the types of faucets in your home is essential to pinpoint and rectify leaks efficiently.
Let’s explore the different mechanisms and how they contribute to faucet longevity and leak prevention.
Compression Faucets: The Role of Rubber Washers
In my experience, compression faucets are often faced with wear on the rubber washers that necessitate a timely faucet leaky handle fix.
The degradation of these washers is a common cause of drips, which can be replaced easily to restore smooth operation.
O-Ring and Cartridge Systems in Modern Faucets
Modernized faucets usually integrate O-rings to allow handles to move freely—when these O-rings wear down, a dripping faucet repair is imminent. Accurate diagnosis and part replacement should fix the issue.
Ceramic Disc and Ball Faucets: Advanced Sealing Technologies
Ceramic disc and ball faucets employ advanced sealing technologies that are remarkably robust but not immune to wear.
Addressing these hi-tech mechanisms demands precision and an understanding of their complex assemblies for successful repair.
Faucet Type |
Common Leak Cause |
Sealing Mechanism |
Repair Complexity |
|---|---|---|---|
| Compression | Worn Rubber Washers | Rubber Washer Compression | Low |
| Cartridge | Deteriorated O-Rings | Cartridge Replacement | Moderate |
| Ceramic Disc | Seal Wear | Ceramic Discs | High |
| Ball | Worn Ball Joints | Ball Joint Assembly | High |
Common Culprits: Identifying the Causes of a Dripping Faucet
When I learn how to fix leaky faucets, my first step is to understand why faucets drip.
Various triggers can be responsible for that incessant dripping sound that so often disrupts the serenity of a home.
Let’s explore a few of the primary causes.
One predominant reason is high water pressure in your home’s plumbing system.
This condition can not only cause leaks but may also signal deeper issues that need attention.
Another common culprit is the wear and tear of the cartridges within cartridge-style faucets.
Over time, these will fail due to sediment buildup, leading to leaky drips.
The O-ring plays a major role in faucet stability by securing the handle. When this O-ring is compromised, it can also lead to leaks around the handle.
Broken parts or components that have sustained damage from daily use can also create vulnerabilities where water may escape.
Washers, which form seals within the faucet structure, can also contribute to leakages – especially if they were incorrectly installed or have aged.
Below is a table that highlights these common contributors to faucet leaks:
Part |
Issue |
Consequence |
|---|---|---|
| Water Pressure | Too High | Causes leak, potentially signifying more serious plumbing issues |
| Cartridge | Wear and Tear | This leads to increased dripping and leaking over time |
| O-Ring | Deterioration | Results in handle leaks and loss of tightness |
| Faucet Parts | Damage or Breakage | Creates points for water to seep through and escape |
| Washer | Improper Installation or Age | Frequently causes dripping, may need replacement |
Fixing a Leaky Faucet: Step-by-Step DIY Guide

Here’s a detailed walkthrough to help you with your faucet leak troubleshooting.
Initial Preparations and Shutting Off the Water Supply
Fixing a leaky faucet begins with taking preliminary safety measures.
Ensure to shut off the water supply to your faucet.
Look for the valves (typically) located under the sink and turn them clockwise until the water flow ceases.
Cover the drain to prevent any small parts from falling in during the repair process.
Dismantling Your Faucet: Handle, Nut, and Stem
Next, carefully dismantle the faucet components.
Start with the handle, which usually requires loosening a screw to remove it.
After that, gently remove the nut using a wrench.
Extract the stem carefully; at this point, you can inspect these pieces for signs of wear or damage.
Inspecting and Replacing Washers and O-rings
Common problem areas include washers and O-rings.
Look for cracks or brittleness, which typically indicate it’s time for replacements.
You should (ideally) clean all the components with white vinegar, perfect for dissolving mineral buildup before replacement.
The Reassembly Process: Ensuring a Tight Seal
When reassembling the faucet, ensuring a snug fit between all parts is important.
Careful reassembly helps prevent future leaks.
Once everything is back in place, gradually turn on the water supply and observe.
Repeating the process or seeking professional assistance might be necessary – if the leaking persists.
Step |
Action |
Instructions |
|---|---|---|
| 1 | Shut off the water supply | Turning the valve fully ensures not a trickle escapes |
| 2 | Cover the drain | Securing the drain avoids the headache of lost parts |
| 3 | Remove the handle | Keep screws and bolts organized for easier reassembly |
| 4 | Detach the nut and stem | Place parts on a cloth to keep track and protect the finish |
| 5 | Inspect washers and O-rings | Replacing these can solve most leaks effectively |
| 6 | Clean and replace parts | Use manufacturer-approved components for best results |
| 7 | Reassemble faucet | Ensure every part is secure and aligned properly |
| 8 | Restore and test the water supply | Checking for leaks now |
By following these steps and utilizing the right tools and replacement parts, you should be able to stop a leaky faucet effectively.
When to Call a Pro: Complications in Faucet Repair
While many faucet leaks can be handled with a DIY approach, there are instances where the issue may escalate beyond basic faucet leak fix efforts.
Recognizing when technical challenges warrant a professional touch can save time, and money, and prevent further damage to your plumbing system.
Fixing a leaky faucet can sometimes uncover complications that demand a skilled plumber’s intervention.
I’ll walk you through these scenarios and explain why calling a pro can sometimes be the most prudent decision.
Valve Seat Woes: The Need for Professional Tools
One of the more intricate issues you might encounter is a corroded valve seat, a common issue that requires specialized tools to remedy.
Corrosion can eat away at the metal, preventing a proper seal and leading to persistent leaks.
In this case, a professional plumber, armed with a seat wrench and the necessary experience, can remove the damaged seat efficiently and replace it with a new one, ensuring a durable faucet leak fix.
Addressing Plumbing Pipe Predicaments
Plumbing pipe issues are another red flag I generally advise not to tackle alone.
If your faucet’s leakage is part of a greater problem within the pipes, such as a fracture or severe blockage, you’ll find that the expertise of a certified plumber is priceless.
From identifying the precise cause to fixing it without inflicting more damage, a professional ensures your faucet leak fix aligns with your home’s plumbing network.
The Intricacies of Inlet and Outlet Seals
Lastly, the seals around the faucet’s inlet and outlet can deteriorate and cause leaks.
While replacing these might seem straightforward, the process is delicate.
Not only must the correct type of seal be selected, but it needs to be fitted impeccably to prevent future drips.
In my experience, the accuracy of a dripping faucet repair by a skilled plumber vastly outweighs the frustration and potential failure of attempting it unaided.
Hiring a professional can be a wise investment for complicated problems.

In my own experience, I’ve found that keeping an eye on pressure-related signs and addressing them promptly is the most reliable way to maintain a robust plumbing system and avoid the hassle of chronic leaks.
Regularly checking the water pressure in your home is an integral part of faucet maintenance.
So next time you’re dealing with a leak, consider whether water pressure might be the hidden culprit.
Regular Faucet Maintenance for Leakage Prevention
Regular checks and timely interventions prevent wasteful water loss. Let me guide you through essential practices for keeping your faucets in check.
Periodic Checks and Timely Replacements
My routine involves periodic inspections of my faucets.
I look out for early signs of wear—especially washers, O-rings, and seals.
Replace them immediately if the situation calls for it.
By intervening early, you can avert unnecessary water waste, prevent the advance of harmful mold, and scale back on your home’s utility costs. The act of fixing a leaky faucet, seemingly modest in scale, is, in fact, a stride toward a more sustainable and financially prudent future.
Useful Reads
- https://thomasgalbraith.com/knowledge-center/dripping-faucet-cincinnati/
- https://www.wmhendersoninc.com/blog/5-reasons-your-faucet-is-dripping-water-how-to-fix-it/

Dave Johnson is a mechanical engineer with over two decades of experience in the semiconductor industry. He’s known for his exceptional ability to fix almost any mechanical and electronic device, from leaking faucets to lawnmowers – he is definitely your go-to neighbor for household maintenance issues. When he’s not elbow-deep in his garage doing household repairs, you’ll find him sharing his expertise on fixing everyday maintenance challenges on this site.


